Sen. Brown tours COVID-19 testing site at CAS
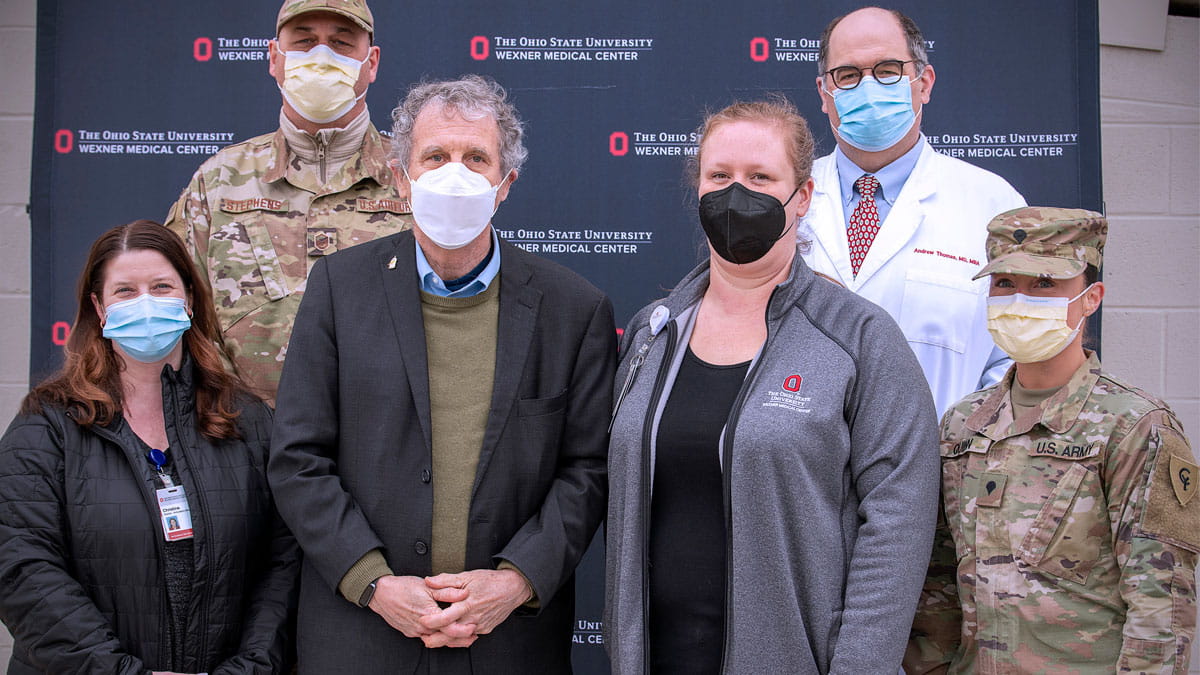
Sen. Brown talks with members of the Ohio National Guard who’ve joined health care workers across the state on the front lines in the battle against COVID-19.

To help slow the spread of COVID-19, the Centers for Disease Control and Prevention recommends everyone wear cloth face masks in public while practicing social distancing. The goal is to prevent people who may have the virus and not know it from spreading it to others.
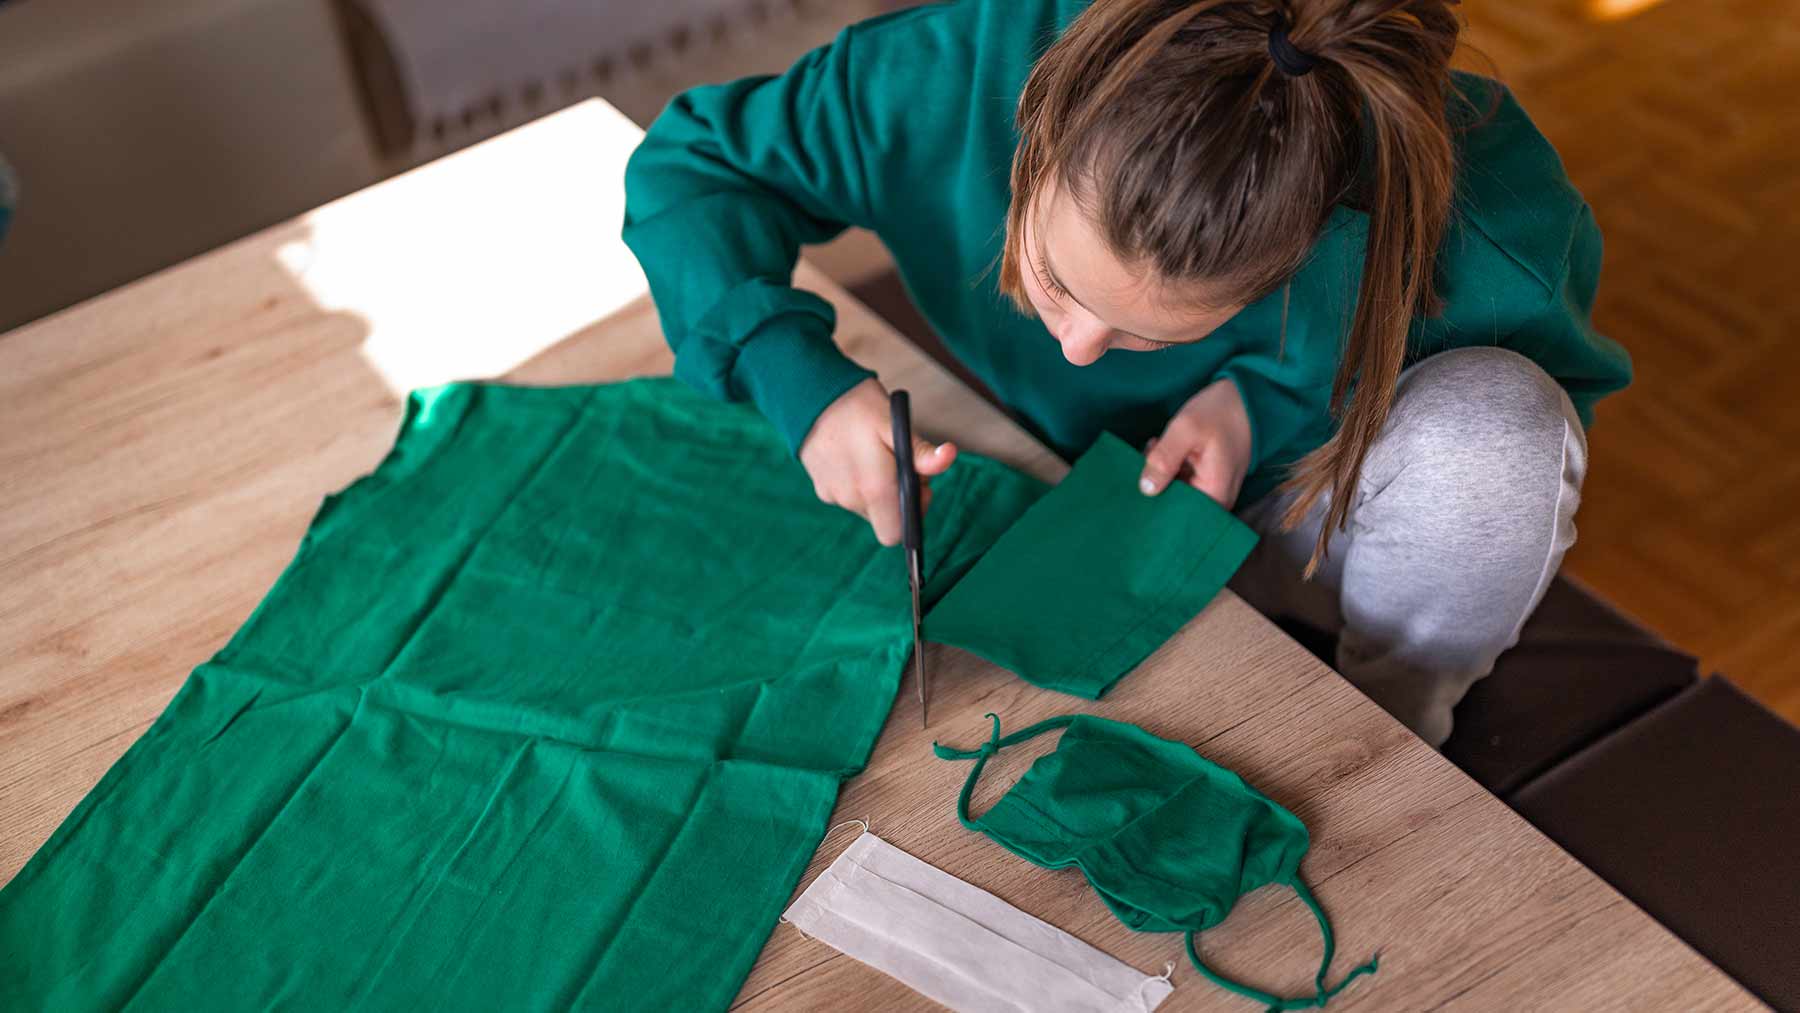
Cloth face coverings should fit snugly against the face, include multiple layers of fabric, allow for breathing without restriction, be secured with ties or loops, and be able to be laundered and machine dried without damage or change to shape.
To make a no-sew cloth face mask (Download CDC cloth face mask instructions):
When removing cloth masks, careful attention should be taken to not touch the eyes, nose or mouth. Wash your hands immediately after removing the mask. Cloth masks should be machine washed routinely, based on how often you wear it.
Cloth face coverings shouldn’t be placed on children under age 2 or anyone with breathing issues or who would be unable to remove the mask without assistance.
Sophia Tolliver is a primary care physician at The Ohio State University Wexner Medical Center and assistant professor of family medicine at The Ohio State University College of Medicine.
Sen. Brown talks with members of the Ohio National Guard who’ve joined health care workers across the state on the front lines in the battle against COVID-19.

Dr. Andrew Thomas and his decades of leadership experience at The Ohio State University Wexner Medical Center have been vital in the state’s fight against COVID-19.

Dozens of other Ohio National Guardsmen have been sent to assist in non-clinical roles, including environmental services, nutrition services and patient transportation. And more are expected in the coming weeks.
